


Garage Floor Tile Installation: DIY Guide & Pro Tips
Garage Floor Tile Installation: DIY Guide & Pro Tips
Installing interlocking garage floor tiles is one of the most satisfying DIY projects you can tackle — the transformation is instant, the tools are minimal, and the result looks like a professional install. But like any project, the difference between "good" and "flawless" comes down to preparation and technique.
Our weekend installation guide covers the basic flow; this guide goes deeper — the tools, the layout tricks, the cutting techniques, and the mistakes that turn a two-day job into a two-week ordeal.
Before You Start — Tools & Materials
Here's the complete list. The beauty of interlocking tiles is how short it is:
- Garage floor tiles — plus 10% extra for cuts and future replacements
- Edge strips and corner pieces — matching trim for a professional perimeter
- Utility knife or tile cutter — for cutting edge tiles against walls
- Rubber mallet — to seat stubborn locks (a soft hammer works too)
- Tape measure and chalk line — for layout planning
- Broom and shop vacuum — the concrete must be clean
- Knee pads — trust us, your knees will thank you
No adhesive. No grout. No power tools required — though a circular saw with a fine blade speeds up long straight cuts if you have one.
Step 1 — Measure and Calculate
Accuracy here saves you a return trip. Measure the garage length and width in feet, multiply for square footage, then divide by 1.72 (the area of one 400×400mm tile):
- Length × width = total square feet
- Total ÷ 1.72 = tile count
- Tile count × 1.10 = final order (10% for cuts and spares)
Example: 20 ft × 20 ft = 400 sq ft ÷ 1.72 = 233 tiles + 10% = 257 tiles. Measure twice — tile orders are heavy to return.
Step 2 — Prep the Concrete Surface
Interlocking tiles are forgiving, but they're not magic. The concrete needs to be:
- Clean — sweep and vacuum thoroughly; oil stains should be degreased and dried
- Dry — moisture trapped under tiles can cause odors; let the floor dry fully before laying
- Reasonably level — small dips are fine (the tiles bridge them), but obvious high spots should be ground down
One common question: can you install over old epoxy? Yes — a worn epoxy floor is actually the perfect base, since it's already smooth and sealed.
Step 3 — Dry-Lay Your Pattern First
Before snapping anything together, lay out your pattern loosely on the floor. This is where the pros save themselves hours:
- Start from the most visible entrance — the door you use daily gets the cleanest layout
- Center the pattern — measure from the center of the room so cut tiles at the edges are symmetrical
- Protect the focal wall — if one wall is the show wall (workbench, detailing area), lay full tiles there and cut at the hidden wall instead
- Plan the stripes or checkerboard — a two-tone pattern is much easier to lay out on the floor than in your head
Mark your starting corner with a chalk line and snap the first tile down. From here, it's a rhythm job.
Step 4 — Snap the Tiles Into Place
Working row by row from your starting corner:
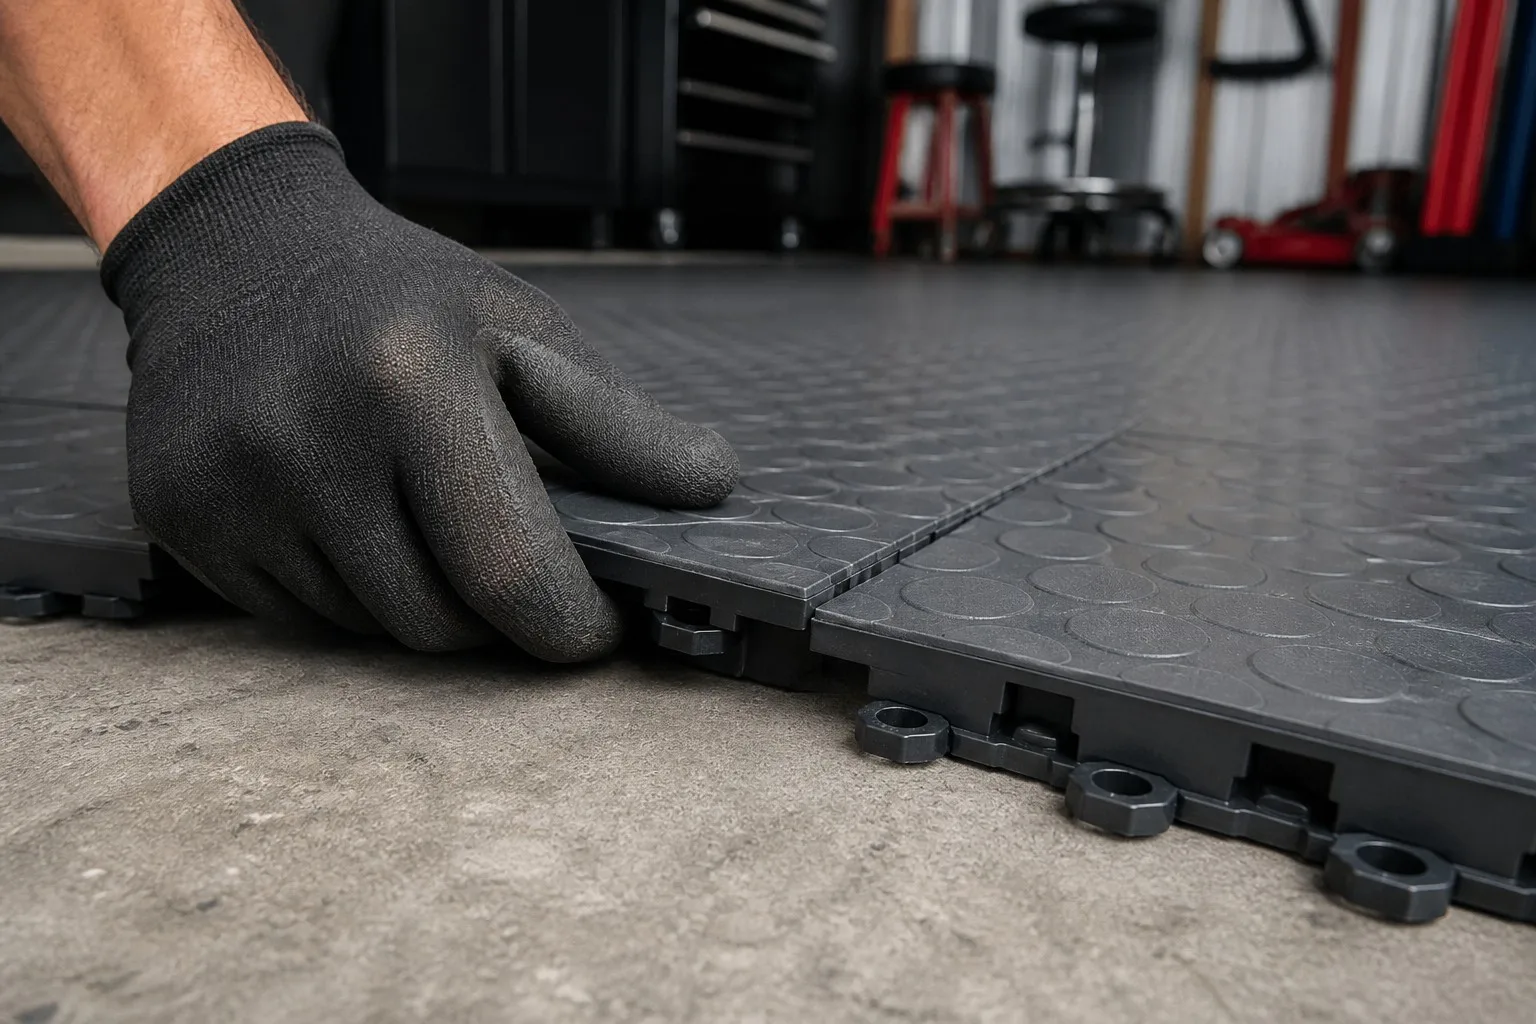
- Align the locking pins of the new tile with the receiving slots of the installed tile
- Press down firmly — the hexagonal connectors seat with a satisfying click
- For tiles that resist, tap the edges with a rubber mallet until the seam is flush
- Check every seam visually as you go — a tile seated 1mm high will collect dust and get worse as traffic passes
Keep a spare tile or two as a "sample" to test fit as you approach walls, columns, and other obstacles.
Step 5 — Cut Edge Tiles
Very few garages divide evenly by tile size — you'll need cut pieces along at least one wall. The technique:
- Place a full tile on top of the last full row, overlapping the gap at the wall
- Mark the cut line using the wall as your guide
- Score the tile surface with a utility knife (or cut with a circular saw)
- Snap along the score line, then clean up any burrs
Leave a small expansion gap (about 5mm) at the walls — the tiles need room to expand and contract with temperature, and the edge trim covers the gap anyway.
Step 6 — Finish With Edge Trim
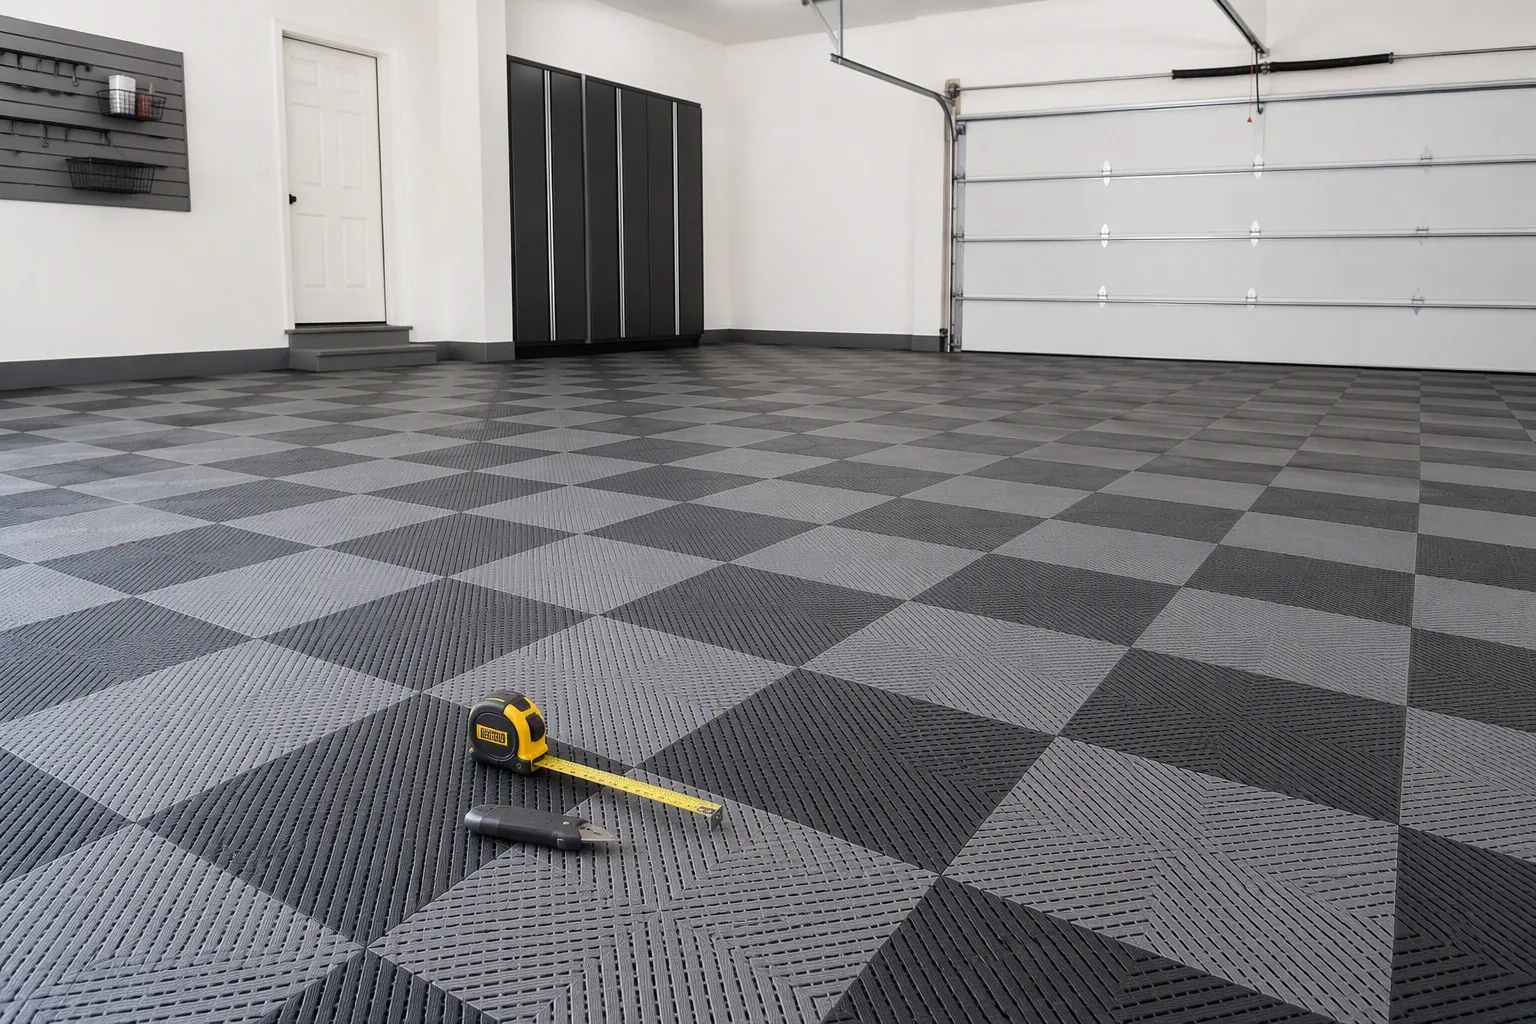
This is the step amateurs skip and professionals never do: install the matching edge strips and corner pieces around the perimeter.
- They cover the expansion gap and the raw cut edges
- They protect tile edges from rolling jacks and equipment
- They give the floor a crisp, "designed" finish that photographs beautifully
Order edge trim at the same time as your tiles — matching the exact color is essential, and it's a cheap line item that transforms the final look.
Pro Tips From a Decade of Installations
- Work out of the door — lay tiles from the far corner back toward the entrance so you never walk on fresh work
- Use a straight edge for long cuts — a metal ruler gives cleaner scores than freehand knife work
- Keep a heat gun or hairdryer handy — in cold garages, warming tiles slightly makes the plastic more flexible and the locks seat easier
- Store spare tiles flat — spare tiles stored on edge can warp over time
- Install a dehumidifier in humid climates — it keeps the concrete dry under the tiles and prevents musty smells
Common Mistakes to Avoid
- Skipping the dry-lay — you'll discover the pattern is off when you're halfway across the garage
- No expansion gap — in summer heat, tiles can buckle against the walls
- Cutting tiles over the installed floor — you'll score the good tiles; cut over a workbench
- Ignoring the entrance slope — most garages slope toward the door; that's fine, but cut tiles at the threshold carefully to keep a clean line
- Buying cheap recycled tiles — brittle material cracks during install and fades within seasons; insist on UV-stabilized polypropylene. Our tile selection guide explains the difference in detail
FAQ
Can one person install garage floor tiles?
Yes — tiles are light and snap together by hand. A second person helps with long straight runs and pattern alignment, but a solo installer can easily finish a two-car garage in a weekend.
Do I need to seal the floor afterward?
No. Interlocking tiles are maintenance-free by design — sweep, mop, or pressure wash as needed. See our cleaning and maintenance guide for the full routine.
What if I damage a tile later?
Lift the damaged tile (it pops out from the edge), snap in a replacement, done. That's the core advantage of modular flooring over epoxy — no patching, no re-coating.
The Bottom Line
Garage floor tile installation is genuinely a weekend project — the kind where the result looks professional even if you've never tiled anything before. Measure carefully, dry-lay the pattern, snap row by row, cut edge tiles with a clean line, and finish with edge trim.
Ready to start? Browse the Arlott garage floor tile collection in 14 colors and five thicknesses — with factory-direct pricing and edge trim to match. Not sure which tile fits your garage? Contact our team and we'll help you spec it in minutes.


